I backed Planet Computer‘s Gemini PDA when it came out, and I’m very glad I did. I’ve had mine for about a month, and I’m loving it.
I backed Planet Computer‘s Gemini PDA when it came out, and I’m very glad I did. I’ve had mine for about a month, and I’m loving it.
This took a bit longer than I expected it to, but that’s usually the way things work when you don’t know what you’re doing. When it’s done, it works quite well — I’ve got Winlink Express running on my Macbook under High Sierra with wine — no Parallels or VMware Fusion needed!
Here are the steps…
Continue reading Winlink on Mac OS X with a TH-D74 over Bluetooth…
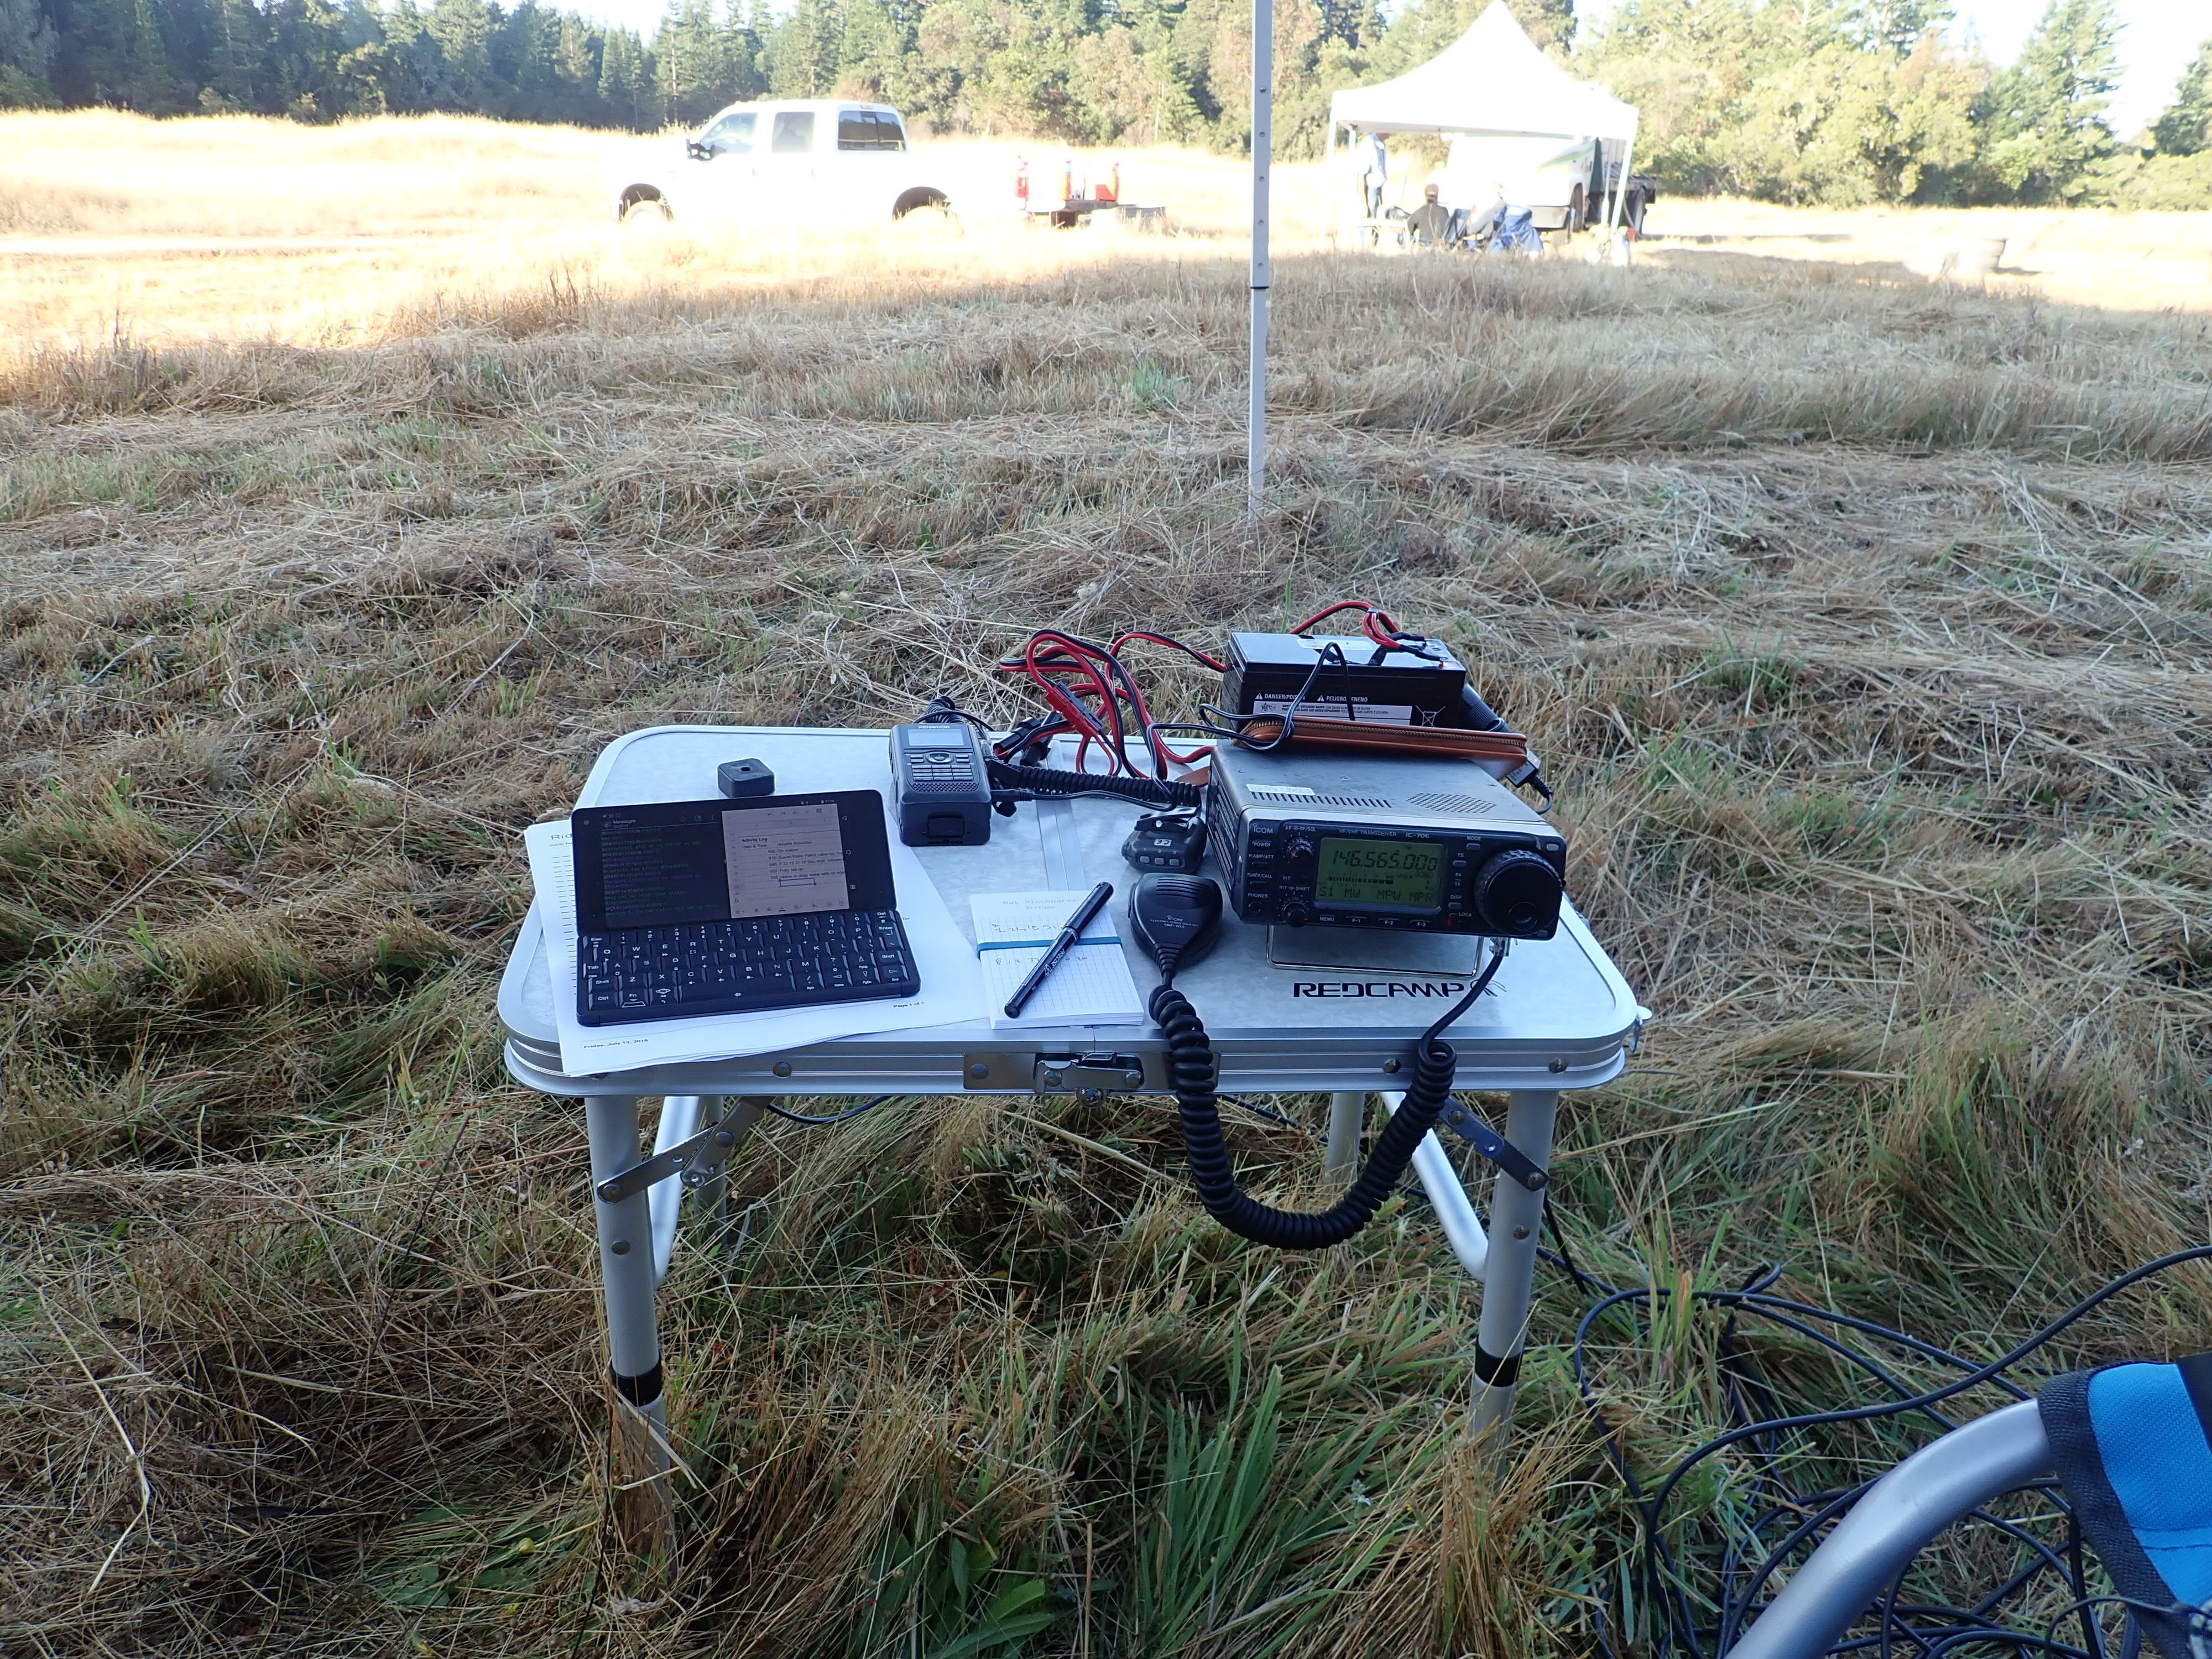
With help from KE6AFE and WB6RJH, I recently installed a Winlink RMS Packet gateway at the home station in the hopes that having easy access to one would enable me to regularly test my portable packet station — in the past I would assemble one for a specific ARES or public service deployment with bits and pieces, test it, use it for the deployment, and then pieces would be cannibalized for other projects, or software would be reinstalled. Although the topology at the house is not ideal for providing RF coverage, I thought that it would at least be a good exercise, and once set up, I could see if it added anything to the local network.
(I’ll write more about the station configuration in a later post; for this discussion it’s enough to know that it’s connected to a Kenwood TH-D700A radio running 50W into a j-pole on top of the house, but unfortunately below the lip of the canyon we live in.)
San Lorenzo Valley is served by two digipeaters, WR6AOK-3 above the middle of the valley on 145.690, and W6JWS-3 to the northeast on 145.630. In addition, WB6RJH operates WB6RJH-10 on 145.690 above the south half of the valley, with coverage extending into parts of Santa Cruz as well as most of Bonny Doon. Although not in San Lorenzo Valley, W6SCF-10 operates on 145.630, and is accessible from W6JWS-3.
Conferring with KE6AFE, we thought the best thing for me to do was put KF6GPE-10 at my home location running on 145.630, so that’s what I did. Over the month of August, the three of us performed a number of tests at locations known to be of interest during ARES activation, with a bias on Boulder Creek locations because that’s where I live and was most curious about possible simplex paths between Boulder Creek and KF6GPE-10.
I used a Kenwood TH-D72A HT running at 5W to the low-profile magmount antenna on my mobile station for the experiments.
Results were quite good, with redundant relays available at each location. I still need to exercise the WR6AOK digipeater more in both Ben Lomond and Boulder Creek; KE6AFE and WB6RJH provided me with a KA-Node script for relaying through WR6AOK that is more reliable than using plain AX.25 digipeating, but I’ve only tested that at one location. Knowing the regions that remain to be tested it does appear that each served agency location is likely to have access to at least two packet relays through at least two different paths on two different frequencies. Unfortunately, there aren’t as many simplex paths as I would like — as I feared, KF6GPE-10 is essentially unavailable by simplex from anywhere likely to be interesting (other than my living room and Redwood Elementary), and WB6RJH is far enough to the south that simplex at low power is not an option for locations very far north of Felton.
Without further ado, here are the results.
Continue reading SLV Winlink Packet Survey
I have a long relationship with Hewlett-Packard portable computing devices; my first experiences programming were on my father’s HP-65, and later the HP-41CV his employer loaned him for his daily work. I had a microcomputer shortly after encountering the HP-65, but learning keystroke programming greatly aided my understanding of assembly language — although I didn’t really recognize that until much later. I later graduated to an HP-28S and then an HP-48SX. In recent years, I have used various HP emulators on the portable devices I use for over ten years; I keep falling back to Free42, because it runs almost everywhere in one port or another. I’ve played with others, and i41CX is what I run on all my iOS devices.
Much has been written about the fine craftsmanship and quality of these early devices — both their physical and electronic design, and the decisions made about their man-machine interfaces. I think exposure to this at an early age definitely has influenced my interest, desire, and recognition of fine design in modern computing products, especially mechanical interactions. I won’t add much here, except that though the bulk of my computation needs now are either so simple that I can do them in my head or on a slide rule (which, yes, I have one on my desk at work) or require real computation to set up, there is still a place for me to use a calculator. It is still faster for me to do some things with a calculator than add formulas to a sheet as I’m analyzing data; once I know what the data is telling me through this exploration, I can then put together the formulas and provide a reasonable presentation. I think because of my upbringing and training, there is something about the cognitive process of using a physical calculator — much as there is in writing with pen and paper instead of typing, a subject much discussed elsewhere.
I have just acquired a Swiss Micros DM41, their small replica of a HP-41CX calculator. It was a bit of an impulse purchase; I have a working HP-41CX I use occasionally, but don’t take it from the house because I am worried about breaking it or having it stolen (my first one was stolen, in 1988). But I had heard good things, and also wanted to support the effort overall — both by encouraging the good engineering of low-volume products for enthusiasts, and in the hopes that by supporting Michael Steinmann and his company that we’ll see other interesting things (the work on the DM42 is an excellent example of this).
I won’t say much about the HP-41 series of devices, but instead provide links to hpmuseum.org and hp41.org. There remains an avid user community, and almost all of the original programs that were published in one way or another can be found on the internet. Many remain useful today. There is also a lot to reflect on when considering the culture of information sharing about calculators and calculation programs in the 1980’s and 1990’s, and blogs and enthusiast sites today about things like iOS and Android, or any programming language, especially the small, up-and-coming ones. More on that in a future blog post, perhaps.
I would like, instead, to capture a few specific things about the DM-41 series (I will refer to both the DM41 and the DM41L as the DM41, because the features I’m discussing apply to both device) that are available from various forums and the Swiss Micros site, but necessarily in one place, both for future users and for future me.
The DM41 is a faithful emulator of the original HP-41CX microcode, running on a low-power ARM processor, with a good mechanical keyboard and dot-matrix LCD display. Battery life and CPU speed is of course drastically better, although the memory remains the same (319 registers plus the stack, or just a touch over two hundred bytes), and at present there’s no way to mount external ROM modules, either as physical hardware or as memory dumps. The DM41 is keystroke-programmed in FOCAL using Reverse Polish Notation, which you either love or will never fully understand. (Contrariwise, it wasn’t until I was about thirty-five that I was able to use an infix calculator with any fluency for more than one operation at a time.) Because the calculator is actually an emulator running the original microcode, synthetic programming is supported. Craftsmanship is excellent — I would not say it is a replica that is identical to the original, but carries the same quality and respect for engineering. The display is good, the keys clicky and reliable (although on the DM41L, take a bit more pressure than on an HP product, but I am told that they break in), and the mechanical design sound. There are two variants of the DM41; the DM41L is in “credit card” format, which is the one I bought, and the other in the HP Voyager format. My only complaint, which is my fault, is that the smaller format is almost too small for my big fingers to use. Had I actually held a credit card and thought about it before ordering, this would not be a surprise, so I fault myself, not Swiss Micros. And having something this small means it’s very easy to carry. Because the physical layout is landscape instead of portrait, the keys are laid out differently; this is a bit of problem for my muscle memory, and my first hour with it recalled my “button paralysis” when I switched from the HP-41 to the HP-28, or the HP-28 to the HP-48, or later picked up Dad’s HP-42S to do something with him in his lab and couldn’t find anything. I have not confirmed this, but it seems that some of the alpha keys are mapped differently, too, or else I have forgotten the mappings for the special alpha characters. Unlike the HP-41CX, there is no shortcut sticker on the back of the DM41L, which is probably a good thing, because it would be very small.
First, without further ado, power-on key sequences for the current (v23) firmware:
Keys Function Description
[ON]+[A] time and date
[ON]+[C] serial console switch to serial console (see below)
[ON]+[E] show information firmware version & battery voltage
[ON]+[CHS] LCD settings change LCD contrast with buttons [R/S],[3],[2],[.]
[ON]+[8] change speed toggle between 12MHz and 48MHz
[ON]+[9] key test key test similar to the one known on the other models
[ON]+[STO] -1h set the clock -1h: daylight saving and changing timezones
[ON]+[RCL] +1h set the clock +1h: daylight saving and changing timezones
Second, here’s how to use the USB port to capture RAM dumps. The original HP-41 series had both card reader and HP-IL accessories for disk (then, “disc”) and tape storage; over the years this has been used to get software off of these devices in a variety of formats. The DM41 series has a miniUSB port, and connecting it to a computer — Mac, Windows, Linux, or even Android with USB-OTG — with the serial mode active gives you the ability to exchange full RAM dumps between the DM41 and the connected computer. Setting up a Mac, PC, or Linux is straightforward, and you can find instructions here. For Android, you can use DroidTerm and a USB-OTG cable. I had it running with my Macbook in about five minutes; most of the time was spent digging around for a USB-C to USB-A adapter.
Once you connect the calculator and terminal (38400/N/8/1, please!), and bring up the calculator in serial mode by pressing C (SQRT) and power, you should see the DM41 prompt in the terminal display. From here, you can enter ‘?’ to get help.
There are two commands you’ll use for memory dumping — ‘s’ dumps the contents of the RAM and pertinent registers to the terminal, ‘l’ takes a similarly formatted RAM dump and replaces the contents of the dump with the calculator. The RAM dump is formatted as printable text; you can copy it and paste it into a text editor. Do yourself a favor — if you’ve spent any time at all programming yours, do a RAM dump now and copy the results to a text file, because it’s easy to forget to do that and later lose the calculator contents while experimenting with uploading other programs. (I speak from experience.)
Where things get interesting is the combination of software available on the web at sites like hp41.org and the programming tool Swiss Micros provides. In this web page, you can paste a well-formatted HP41 FOCAL program listing (no line numbers, though) in the right hand window, and press “encode”, and get a RAM dump you can transfer to the calculator. Even more interesting, you can also install programs you find over the internet that have been saved in the the .raw file format using the programming tool. (You can find .raw files in a lot of places on the Web; a good place for many of the applications that have been written over the years is the library at hp41.org, which only requires free registration). To transfer a .raw program to the calculator, download it to your PC, go to the programming tool, click “choose file” in the raw box, choose the file, and then “decode raw”. Copy the memory dump in the left hand window, go back to your terminal program connected to the DM41, and type ‘l’, and paste in the memory dump.
Because you’re transferring an entire memory dump, if you want to install more than one program, you need to do this:
I’ve done this to load the base conversion programs and the phase-of-the-moon program found on hpmuseum.org and the HP-41 User Solutions: Calendars collection.
If you want to get a .raw file from a program you’ve written, it’s likely trickier; I’d start by getting a RAM dump, getting the listing from the programming tool, and then running it through something like the third-party HP User Code utility you can find floating around in a few places. I haven’t tried this, though. If you just want to get your program to another emulator, but you might have problems with the fact that most FOCAL listings include line numbers, and the listings provided by the programming tool do not.
I don’t know a lot about the DM41 memory format, even after looking at some posts on both the Swiss Micros and the hpmusem.org forums (the latter is especially recommended). What’s obvious, though, is that each row consists of four registers in hexadecimal (fifty-six bits per register, separated by spaces), and that it includes some, but not all, of the CPU registers. You’ll see the A, B, C, S, M, N, and G registers, but not the other ones. C is the processor store for the user-visible X register; S is the register holding the status flags. M and N are processor registers for interacting with the X register, as is G (a single-byte register used for alphanumeric mode, I gather). (If you’re interested in the HP-41 internals, there’s a short summary of processor internals at http://www.hpmuseum.org/techcpu.htm, and of the HP-41 memory map at
http://www.hpmuseum.org/prog/synth41.htm). A quick forum post (thanks grsbanks!) helped me understand that the dumps don’t show anything that’s all zeros.
Edits 2017-06-24: Explained missing lines, removed registers not in the HP Nut CPU (I was conflating Nut and Saturn). Minor typo, link fixes.
When it comes to writing about food, some books marketed as cookbooks and really just catalogs of recipes, and other books are about food but have lots of recipes as well. Responsive Mobile Design (and at Amazon), by Phil Dutson, is a cookbook of the second sort, about responsive mobile design that has lots of recipes.
I never really did get the cookbook format for computer books; the few I’ve bought I’ve inevitably answer a few questions, but I never really read them cover to cover. Phil Dutson’s book is different — not only are there lots of clear examples and how-you-should-go-about-doing-this kinds of things, but there’s lots of information about responsive design, and modern design for the web in general. As such, it worked really well — Dutson introduces a topic, talks about it in very specific terms, and then looks at specific points that require closer attention with technical examples or pointers to frameworks. There are lots of examples, and lots of figures showing the output of the examples, so you can really see what he’s talking about.
The book begins with some general observations about web design and content, which though lightweight technically, are a welcome reminder that it’s all too possible to create a technically excellent site that wouldn’t interest anyone. From there, he moves on to discussing basic layout principles with grids, tables, and measurement, before getting into the details of media queries and typography. There’s a whole section (three chapters) on how to make multimedia responsive, and then five more chapters on the specifics of tuning the performance of mobile web site, looking at everything from server choices to optimizing JavaScript and measuring performance with modern browsers. Dutson provides a clear, engaging style throughout; I planned on pacing myself by reading a couple of chapters a night to let things sink in, and frequently moved on to a third or even fourth chapter before stopping.
I got a lot more out of the book than I expected, and I had pretty high hopes to begin with. If I had to name a fault of the book, it’s that I’m not sure how well it will age in some regards. Dutson is very good about discussing proposed standards and differences between browsers, which should hold up well. However, he often provides pointers to frameworks, and it’s not clear how many of these frameworks will be around or kept relevant in the two-to-four year lifespan of a printed book. On the other hand, having those pointers and a summary of what’s available is great — if you’re just getting started setting up a site, it’s nice to know the pros and cons of the various packages you can start with. So I think his decision was the right one, and it may mean a little more time with Bing or Google once the book’s been out for a while.
If you’re at all curious about what makes a modern web site tick, or if you’re presently engaged in working on responsive sites, this is definitely a book to have.
(So, disclaimer first: I’ve been working with the publisher & authors of this book through every edition as a technical reviewer; I don’t get anything from the sale of the books, but I enjoy working with the publisher and the authors.)
So, I got my review copy of Advanced Android Application Development, fourth edition by Joseph Annuzi, Jr, Lauren Darcey, and Shane Conder last week, and all I can say is that this great book gets better with every edition.
There are a lot of Android books out there, and most of them churn through the same basic stuff about views, intents, and services, with a smattering of information about networking and databases thrown in for good measure. This is the book you turn to for what’s next: serious discussion about SQLite databases services, notifications, input methods, networking, telephony, and Google Services like maps, location, cloud messaging, in-app billing, and analytics. There’s even a whole section — multiple chapters — on graphics, both 2D and 3D graphics programming using Android’s support for graphics and OpenGL ES. Recently updated to its fourth edition, there’s even some coverage of Android Lollipop and Android Wear. And there’s plenty of review material about networking and web access, too.
The book has copious sample code; the text fortunately doesn’t just reprint listings and leave you to puzzle over what they do, but carefully chooses the pertinent bits and pieces of sample applications illustrating the proper way to use Android interfaces. The full sample code of the applications is available for download, just as you’d expect. In many cases the samples are good enough to adapt for your own work, although they occasionally elide much of the necessary error handling that a good mobile application would require.
It’s hard to find fault with this book: with excellent coverage of SQLite, Android’s notification system, input methods & accessibility, and internationalization. Written right when Android L and Android Gear were being unveiled, it’s a little short on details on those topics, but that’s to be expected — it’s still got more than many books on the market today.
If you’re doing Android development, I strongly recommend getting a copy of this book and at least leafing through the parts of it that are new to you; it’s my go-to reference for all things advanced in Android.
Do you like getting the whole story all at once? Or are you more the kind of person that wants to hear things bit by bit, and think about each piece as it comes, and respond a little at a time?
That’s essentially the question to ask when choosing an XML parser to use in Qt. There’s the QDomDocument, which parses your XML document into a fully-navigable document object model (DOM) in memory that you can query, traverse, and change. And then there’s the QXmlStreamReader parser, which reads from a stream and lets you make incremental queries for entities and attributes as you go along. Finally, there’s also the QXmlSimpleReader parser, a simple SAX-like parser that can read the whole document in one shebang or incrementally and calls callbacks on objects you register when the parser encounters entities and attributes.
Which should you use in your project?
There’s a tradeoff between the simplicity of your code and the amount of memory you’re willing to sacrifice at run-time. DOM-based parsing as provided by QDomDocument is awesome, but comes at a cost—the parser has to churn over the entire document as it creates the DOM, and essentially mirrors the document in RAM in with its DOM. The streaming parser is great for larger documents, but requires that you build more structure into your parser, using that structure to mirror the internal hierarchy in your XML document.
For years, I’ve been an avid proponent of using stream-based parsers—readers of Dan’s and my book will remember us exhorting you to use stream-based parsers for mobile, because you can read the data as it comes over the stream and build your document representation in core as efficiently as possible. In a past life, I actually wrote a streaming XML parser for Qualcomm BREW, again adhering to the doctrine that you should hold as little in memory as possible, and process what comes in over the air (or off the wire) as quickly as possible, rather than buffering and processing. If you’re parsing a very large document, or if you’re working on very small devices (think legacy Symbian or Maemo), streaming is definitely the way to go.
While I still think for the large majority of applications that’s probably still the best approach, I had the opportunity recently to use a DOM parser in a commercial setting on a project, and wow, was it easy! In my case, I was parsing small documents—typically well under fifty kb—walking the DOM quickly and reducing their structure to a compact in-memory representation and discarding the DOM. I could have done the same thing with a streaming parser, but here the time it took me to write the code was of the essence; we wanted to get something up and running as quickly as possible. And this was a fast way to do it.
Someday, I’d like to write a benchmark app that uses all three methods to parse a longish (say, 250 kb) document and report on both performance and heap usage. It would also be interesting to see download-and-parse times for the three approaches over a benchmark network like 3G cellular, because depending on the application and document size, network performance becomes a factor, too. Until I can point at hard numbers, though, I’d advise you to consider both the DOM and streaming approach, and choose the approach that best balances network throughput, memory usage, and the amount of time and effort it takes you to get your project off the ground.
What do you do if you think you’ve correctly connected a signal to a slot and yet your slot’s not being fired? I ran into that Friday at 5:30pm, just about the time I hoped I’d call it a day and go home. Fortunately in my case, I was simply passing null to connect, and I got a message in the debugging log about trying to connect a signal from a null object. (Unfortunately for me, I didn’t see the log right away, because of all the other stuff I was dumping to the log.)
If you’re in the same boat, what do you do to debug the situation? Here’s a bunch of things to try:
true.
connect(sender, SIGNAL(someSignal(type)), receiver, SLOT(received(type)))
const and reference specifications in the arguments; the meta-object compiler strips them anyway.signals and slots portions of your header correctly.QObject, and that you have Q_OBJECT declared in your class definition. (Remember, you need to do both.)QObject declaration in your header, re-run qmake and rebuild.connect before you invoke any functions that fire the signal. Signals may fire synchronously.disconnect.
Usually, the problem’s pretty easy to track down, especially if you check the log and the signal and slot declarations closely. A common mistake is to try to wire a signal to a slot that’s not been declared a slot, too, so check your headers closely!
So, I’m flattered to have been asked by the dynamic Conder/Darcey pair to be a tech reviewer on an upcoming book for writing applications for the Kindle Fire, which runs Android 2.3 (Gingerbread, SDK level 10, as I recall). Of course, to do the job correctly, I needed a Kindle Fire.
I’ve been an ebook fan for many, many years, having pressed my first books for the Newton Book format back in ’94, and read ebooks on nearly every handheld computing platform since then. I was a happy user of Sony’s ereader products (as previous blog posts can testify to), although this last fall I gradually switched to using Amazon as my provider-of-choice for new ebooks, because I can read them using either the cloud reader or my Windows Phone and iOS devices. I generally seek out books without DRM where I can (like the excellent offerings from O’Reilly), but will tolerate DRM when it’s thrust upon me. So I was excited to have the opportunity to get my hands on a Kindle, both from an end-user as well as a developer perspective.
The Device and its UI
For the money, it’s definitely a good deal. I’ve been quite happy with it for book reading, casual browsing — it’s replaced the iPad as my go-to device for Twitter and Facebook in the evenings, although I still use the iPad more for checking news sources like NPR, BBC, and such, as well as general browsing. It’s also definitely become the official ebook reader; I’m a little self-conscious about how many ebooks I’ve bought since I got the thing.
A noteworthy UI departure from the plethora-of-icons on most handheld devices is the main screen, which provides a most-recently-used Cover-Flow style view, with a few pinned items below that. I really like that; my usage is typically clustered around two or three different pieces of content (a couple Web pages and a book), and it’s very fast.
As much as I like books on it, magazines suck. The problem is the screen size, as others have observed. You just can’t format an 8 1/2″ x 11″ magazine for a 6″ display and expect it to be legible, and if I wanted to spend an evening pinching and zooming to read something, I’d just go get a smart phone out. I’m going to cancel the one magazine I subscribed to before the trial is out; I think the iPad would do much better.
Developing for the Fire
I’d done some puttering with Android before, of course, so the environment’s not new. Having spent more time in it, I’d have to say that it’s on a par with Qt Creator, except that the Eclipse IDE is far, far more cluttered. I had about the same amount of difficulty getting the Kindle to talk to the debugger as I’ve had with Symbian and MeeGo devices — a bit of grumbling and some Googling as a result — but no real difficulties. It’s certainly a change from the pre-iPhone devices, when most mobile devices required all kinds of magic to connect reliably to a development workstation.
I don’t love Java, and I don’t love the various SDK levels and API confusion of Android, but it’s actually not a bad platform for writing software. The APIs mostly make sense, and when they don’t, there’s usually copious documentation and sample code available. I’m rapidly moving from feeling like a newbie to feeling comfortable, and wondering whether I should invest more in Android for my own skillset or Windows Phone 7 for work skills as I poke away at the thing. It helps that I’m only targeting one device with one specific API level. I don’t envy professional developers targeting Android as a whole.
Anyway, when their book is available I’ll be sure to post a link so people can check it out!
Whew! Some things seem to take forever for me to figure out!
Here’s the scenario: we’re working on a Qt Quick (QML and C++) application at the lab to run on Microsoft Windows. We’d like to deploy the app to a bunch of study participants to use for a week or so. It’s obviously not practical for me to go around and set everybody up with Qt, Qt Mobility, and build our app. (Especially not this app; we’re using the Qt 4.8 prerelease at this point!). So we need to build a Windows installer that includes the Qt DLLs, our app and its QML, and the Qt Mobility plugins we’re using. We’re using Qt Mobility in our QML — so we need to include the Qt Mobility plugins for Qt Quick, not just the Qt Mobility libraries.
Packaging a Qt application for Windows is straightforward — just follow these instructions for packaging as a shared library. But what about the Qt Quick plugins for Qt Mobility we need?
Well, Qt Quick supports modules for that, as described here. In fact, if your application required QtWebKit’s Qt Quick plugin, you’d create a QtWebKit directory, stick a qmldir file with the line
plugin QtWebKit
copy qtwebkitplugin.dll into the directory you made and Bob’s your uncle!
We use QtMultimediaKit, so at first I created a QtMultimediaKit directory, created a qmldir file in that directory, and copied QtMultimediaKit1.dll from my Qt Mobility build output directory to the QtMultimediaKit directory I’d created.
No luck — in fact, the app just launches and shows nothing. (To add insult to injury, my app uses Qt’s support for Open GL, so not only did I not get the black screen characteristic of a QML error, but I got junk in the application window and no errors on the console.)
Turns out that QtMultimediaKit1.dll goes in the same directory as the application, and the declarative plugin file is somewhere else! If you look in the plugins directory, you’ll see a declarative directory, and the actual Qt Quick declarative plugin you’re looking for is in there! In my case, I needed to copy plugins/declarative/multimedia/release/declarative_multimedia.dll to a new directory QtMultimediaKit, create a single qmldir file that read
plugin declarative_multimedia
and put that adjacent to my application executable.
So, the resulting files and directories for me look something like:
imageformats/qgif4.dll

imageformats/qjpeg.dll

QtMultimediaKit/declarative_multimedia.dll

QtMultimediaKit/qmldir

msvcr90.dll

QtCore4.dll

QtDeclarative4.dll

QtGui4.dll

QtMultimedia4.dll

QtMultimediaKit1.dll

QtNetwork4.dll

QtOpenGL4.dll

QtScript4.dll

QtSql4,dll

QtXml4.dll

QtXmlPatterns4.dll

myapplication.exe
Now off to learn how to make a Windows installer. I think I’ll try Inno Setup.
